
Where is the Setting Button in Gimkit has quickly become one of the most popular educational tools for teachers and students alike? This interactive platform combines the excitement of gaming with the rigor of learning, making it a favorite in classrooms around the world. However, like any new tool, it can take some time to get familiar with its interface and features. One common question that often arises is, Where is the Setting Button in Gimkit? If you’ve found yourself asking this, you’re not alone. In this blog post, we’ll walk you through everything you need to know about finding and using the settings in Gimkit.
Understanding Gimkit’s Interface
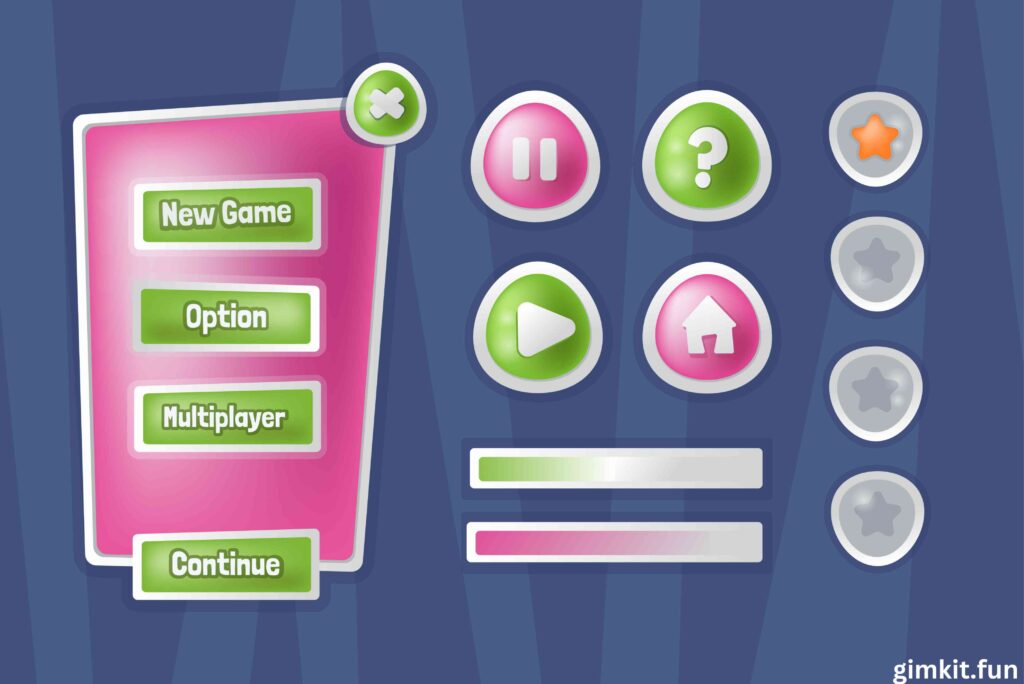
Before diving into the specifics of the settings button, it’s important to understand Gimkit’s interface. Gimkit is designed to be user-friendly, but its layout can vary depending on whether you’re a teacher, student, or using the platform for the first time. The settings button is primarily relevant for teachers or hosts who are creating and managing games, so we’ll focus on that perspective.
Where is the Setting Button in Gimkit?
The settings button in Gimkit is not always in the same place, as its location depends on what you’re doing at the moment. Here’s a breakdown of where you can find it in different scenarios:
When Creating a New Kit
If you’re a teacher creating a new “Kit” (Gimkit’s term for a quiz or game), you’ll find the settings button during the setup process. Here’s how to access it:
- Log in to your Gimkit account.
- Click on the “New Kit” button to start creating a quiz.
- As you add questions and customize your Kit, you’ll see a gear icon or a “Settings” option on the right-hand side of the screen. This is where you can adjust game settings like time limits, question order, and more.
When Hosting a Live Game
Once your Kit is ready and you’re about to host a live game, the settings button becomes crucial for tailoring the experience to your students’ needs. Here’s where to find it:
- After selecting your Kit, click on “Play Live.”
- Before starting the game, you’ll see a “Settings” or gear icon near the top of the screen. This allows you to adjust game modes, power-ups, and other in-game features.
In the Dashboard
If you’re looking for general account settings or preferences, you’ll need to navigate to your Gimkit dashboard:
- Log in to your account.
- Click on your profile icon in the top-right corner.
- From the dropdown menu, select “Settings” or “Account Settings.” This is where you can update your profile information, change your password, or adjust notification preferences.
What Can You Do with the Settings Button?
Now that you know where to find the settings button, let’s explore what you can do with it. Gimkit’s settings are designed to give you full control over your gaming and learning experience. Here are some of the key features you can access:
Customize Game Modes
Gimkit offers a variety of game modes, such as Classic, Team Mode, and Trust No One. The settings button allows you to switch between these modes and customize the rules to suit your classroom’s needs.
Adjust Time Limits
If you want to make the game shorter or longer, you can use the settings to adjust the time limit. This is especially useful if you’re working with a tight schedule or want to give students more time to think through their answers.
Enable or Disable Power-Ups
Power-ups are one of Gimkit’s most exciting features, allowing students to earn bonuses and advantages during the game. However, if you prefer a more straightforward quiz experience, you can use the settings to disable power-ups.
Set Question Order
By default, Gimkit randomizes the order of questions to keep the game engaging. However, if you want students to answer questions in a specific sequence, you can adjust this in the settings.
Control Student Access
The settings button also allows you to control how students join your game. You can choose between options like requiring a code, allowing instant join, or restricting access to specific email domains.
Tips for Using Gimkit Settings Effectively

To make the most of Gimkit’s settings, here are some tips to keep in mind:
Experiment with Different Game Modes
Don’t be afraid to try out different game modes to see what works best for your students. Each mode offers a unique experience, and switching things up can keep your classroom engaged.
Tailor Settings to Your Lesson Plan
Think about how Gimkit fits into your overall lesson plan. For example, if you’re using it as a quick review tool, you might want to set a shorter time limit. If it’s a major assessment, you might allow more time and enable power-ups for added fun.
Involve Your Students
Consider asking your students for feedback on the settings. Do they prefer longer games? Do they enjoy power-ups? Involving them in the decision-making process can increase their engagement and investment in the learning process.
Save Your Preferences
Once you’ve found the perfect settings for your classroom, make a note of them so you can easily replicate them in future games. This will save you time and ensure a consistent experience for your students.
Common Issues and Troubleshooting
While Gimkit is generally easy to use, you might occasionally run into issues with the settings. Here are some common problems and how to solve them:
Can’t Find the Settings Button
If you’re having trouble locating the settings button, double-check that you’re in the right section of the platform. Remember, the button’s location changes depending on whether you’re creating a Kit, hosting a game, or managing your account.
Settings Not Saving
If your settings aren’t saving, try refreshing the page or logging out and back in. If the problem persists, contact Gimkit’s support team for assistance.
Students Can’t Join the Game
If students are having trouble joining your game, check the access settings to ensure they’re set up correctly. You might need to adjust the join code or permissions.
Why Settings Matter in Gimkit
The settings button might seem like a small part of Gimkit, but it plays a crucial role in shaping the learning experience. By customizing the game to fit your classroom’s needs, you can create a more engaging, effective, and enjoyable environment for your students. Whether you’re adjusting time limits, switching game modes, or enabling power-ups, the settings give you the flexibility to make Gimkit work for you.
Final Thoughts
So, where is the setting button in Gimkit? As we’ve seen, it’s not in one fixed location but rather depends on what you’re doing at the time. Whether you’re creating a Kit, hosting a game, or managing your account, the settings button is always within reach—you just need to know where to look.
By taking the time to explore and understand Gimkit’s settings, you can unlock the full potential of this powerful educational tool. So go ahead, dive into the settings, and start creating unforgettable learning experiences for your students!
If you found this guide helpful, feel free to share it with fellow educators or leave a comment below with your own tips for using Gimkit. Happy gaming!